Why You’ll Love This Recipe
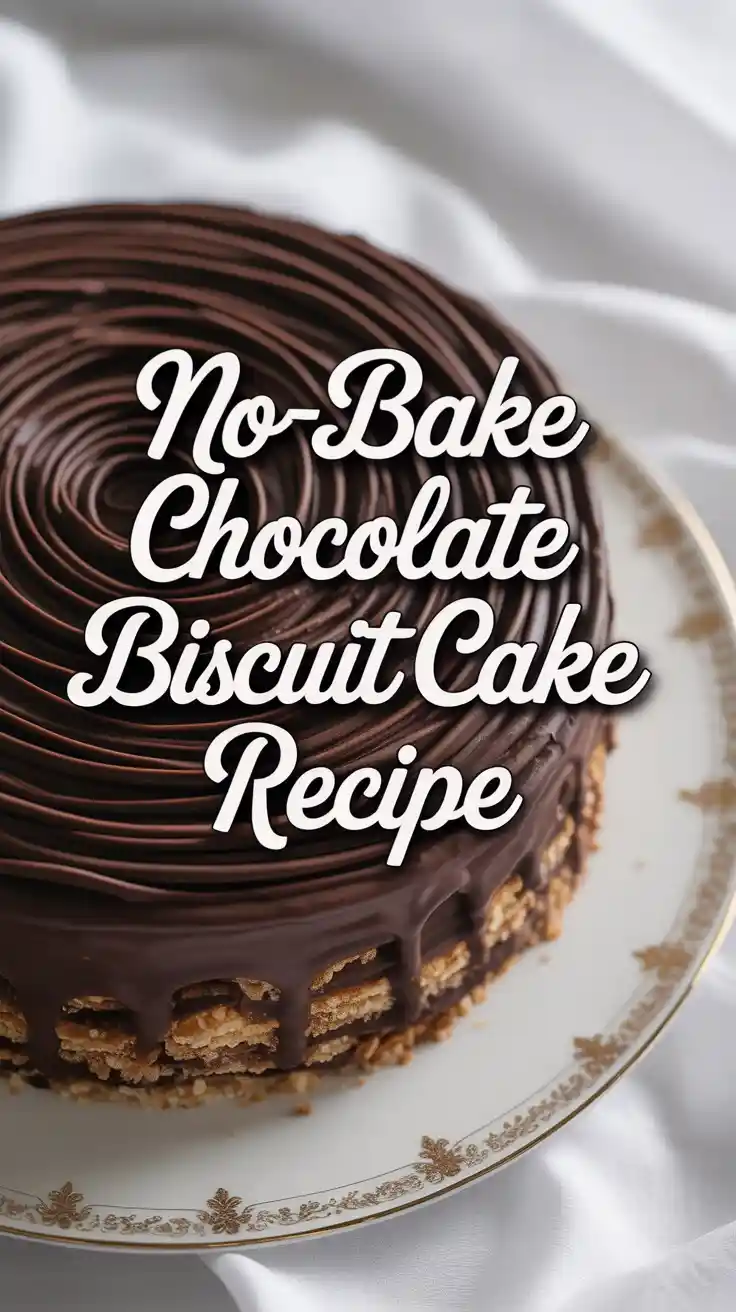
Craving a decadent dessert without turning on the oven? This No-Bake Chocolate Biscuit Cake is a nostalgic, crowd-pleasing treat that blends crunchy biscuits with a rich, fudgy chocolate base. Perfect for birthdays, holidays, potlucks—or just satisfying your late-night chocolate cravings—it’s easy to make, requires simple ingredients, and can be prepared ahead of time.
Whether you know it as a fridge cake, chocolate tiffin, or tea cake, this version is irresistibly indulgent and guaranteed to impress with minimal effort.
⭐️ Key Highlights
- No baking required – ideal for hot days or oven-free kitchens.
- Versatile & customizable – add nuts, fruits, or marshmallows.
- Beginner-friendly – foolproof steps for perfect results.
- Great for parties or gifts – sliceable, transportable, and freezable.
📋 Ingredients You’ll Need
This recipe fills an 8×8-inch square tin or 9-inch round springform pan.
Base Ingredients:
- 400g (14 oz) plain biscuits (Digestive, Marie, Rich Tea, or Graham crackers)
- 200g (7 oz or 14 tbsp) unsalted butter
- 200g (7 oz) dark chocolate (50–70% cocoa solids)
- 4 tbsp (85g) golden syrup (or corn syrup, maple syrup, or honey)
- 2 tbsp (15g) unsweetened cocoa powder, sifted
- 2–3 tbsp milk or cream (optional, for smoother texture)
- 1 tsp vanilla extract
- Pinch of salt
Optional Add-ins (use ~100g total):
- Chopped nuts (walnuts, hazelnuts, almonds)
- Dried fruit (raisins, apricots, cranberries)
- Mini marshmallows (fold in at the end)
- Desiccated coconut
Optional Ganache Topping:
- 100g (3.5 oz) dark or semi-sweet chocolate, finely chopped
- 100ml (3.5 fl oz) heavy cream
👩🍳 How to Make No-Bake Chocolate Biscuit Cake
Step 1: Prepare the Tin
Line your square or round tin with parchment paper, leaving some overhang for easy removal. Lightly grease the tin to help the paper stick in place.
Step 2: Break the Biscuits
Place biscuits in a sturdy zip-lock bag and crush gently with a rolling pin. You want coarse pieces—not fine crumbs—for a better texture. Set aside in a large bowl.
Step 3: Melt the Chocolate Base
In a saucepan over low heat, combine:
- Butter
- Chopped dark chocolate
- Golden syrup
- Cocoa powder
Stir continuously until smooth and glossy. Remove from heat, then stir in:
- Vanilla extract
- Pinch of salt
- Optional milk or cream
Avoid boiling or overheating to prevent the chocolate from seizing.
Step 4: Combine with Biscuits
Pour the warm chocolate mixture over the broken biscuits in the bowl. Add any nuts or dried fruits now (save marshmallows for later). Mix gently until all biscuit pieces are coated.
Tip: If adding marshmallows, fold them in at the end to prevent melting.
Step 5: Press into the Tin
Transfer the mixture into your lined tin. Press down firmly using a spatula, back of a spoon, or the bottom of a glass (covered in parchment). This step is crucial for clean slices.
Step 6 (Optional): Add Ganache
Make this while the cake chills for a glossy, luxurious finish.
- Place chopped chocolate in a heatproof bowl.
- Heat cream until just simmering, then pour over chocolate.
- Let sit for 5 minutes, then whisk until smooth.
- Cool slightly, then pour over the chilled cake and smooth with an offset spatula.
Step 7: Chill and Set
Refrigerate for at least 3–4 hours (ideally overnight). The longer it chills, the better the structure and flavor.
Step 8: Slice and Serve
Lift the set cake using parchment overhang. Slice with a hot, sharp knife (wipe between cuts for clean edges). Serve chilled or at room temperature.
🍽️ Serving Suggestions
- Simple: Cut into squares or wedges and enjoy as-is.
- With Cream: Pair with lightly sweetened whipped cream or vanilla ice cream.
- With Fruit: Garnish with raspberries, strawberries, or a berry compote.
- For Tea Time: Slice into fingers for elegant serving.
- Drizzled: Top with chocolate or caramel sauce for extra indulgence.
🔁 Flavor Variations to Try
- 🍊 Orange-Chocolate: Add orange zest and a splash of orange extract.
- ☕ Mocha: Stir in 1 tbsp instant espresso powder.
- 🌰 Nutella: Replace 2 tbsp of butter with Nutella.
- 🌈 Party Fun: Mix in crushed Oreos or colorful candy bits for kids.
📦 Make Ahead & Storage Tips
| Action | Instructions |
|---|---|
| Store | Refrigerate in an airtight container for up to 7 days. |
| Freeze | Wrap in plastic and foil, or place in a freezer-safe bag. Freeze up to 2–3 months. |
| Defrost | Thaw overnight in the fridge. Avoid room temp defrosting. |
| Make Ahead | Best made the day before; flavors deepen overnight. |
🧠 Expert Tips for Success
- Texture matters: Keep biscuit chunks large for a satisfying crunch.
- Use quality chocolate: The flavor really shines through. 50–70% cocoa solids is ideal.
- Press firmly: Compacting ensures your cake holds together beautifully.
- Slice smart: Use a hot knife and wipe clean between cuts.
❓ Frequently Asked Questions
Q: Can I make it vegan?
Yes! Use vegan butter, plant-based milk, and ensure your biscuits and chocolate are dairy-free.
Q: Can I use milk or white chocolate?
You can, but it’ll be much sweeter and softer. Adjust syrup levels and chill longer if using.
Q: Why is my cake too crumbly?
Possible reasons:
- Not enough chocolate binder
- Biscuits crushed too finely
- Didn’t press firmly
- Not chilled long enough
Q: Can I add toppings?
Absolutely! Try chopped nuts, flaky salt, or edible gold flakes for a gourmet look.
📑 Printable Recipe Card
Coming soon: A one-click printable version for your recipe binder!
💬 Final Thoughts from Elizabeth
“This cake brings me right back to childhood birthdays and cozy family moments. It’s a simple recipe with big rewards—a treat that’s fun to make and even better to share. I hope it becomes a favorite in your home, too.”
